
When it comes to test automation, it’s the same as development and writing code. Furthermore, you build a code to test another code, but no one is testing your automated code for correctness and quality assurance. As a result, having a Code quality check in place for your test automation script has become vital. To remove duplication and simplify things, you’ll need to employ coding standards, patterns, and code comments to clarify what each function does. In this post, we’ll look at SonarQube, one of the most prominent code quality check tools, and how we can use it to assure a high-quality test automation script by integrating it with test automation.
In this Post
What is SonarQube?
SonarQube is an open-source tool for continuous code quality assessment developed by SonarSource. Static code analysis is performed by Sonar, which results in a full report of flaws, code smells, vulnerabilities, and code duplications.
SonarQube supports 29 programming languages, including your favorite languages for test automation like Java, JavaScript, C#, Python, Ruby, etc.
Benefits of Using SonarQube
- Quality test automation code
- Reduces complexity, code duplication and optimised test scripts
- Reduces effort on test maintenance and faster modifications
- Enhanced test automation script development skills
How to Setup SonarQube?
Let’s install and configure SonarQube so you can use it to verify the quality of your test automation.
4 ways to Set up SonarQube for Test Automation
1. Using SonarLint Plugin
You can use the Sonar Lint Eclipse or Intellij Idea plugins to analyze your code before committing to the central repository. For more details refer to the earlier post on How to Integrate Sonarlint with Eclipse and IntelliJ.
2. Using Jenkin Jobs
You may also build a Jenkins Job and have it run whenever new code is pushed. It will take code from your repository and analyze it. Refer to the earlier post on How to Integrate SonarQube with Jenkins for Test Automation.
3. Launch a local instance of SonarQube
You can launch a local instance of SonarQube on your machine or a remote system and analyze the code using the Maven plugin. Refer to the installation guide to SonarQube.
4. Set up SonarQube using Docker
The best and easy option I found is to use Docker. Docker makes it simple to build up any tool these days. You can install SonarQube in very easy steps and quickly. Refer to the post on, Installing SonarQube with Docker.
Run SonarQube
If you’ve already installed SonarQube locally or via Docker as described above, read on for more information on analyzing your test automation scripts using SonarQube.
Once installed, your SonarQube will be available at “http://localhost:9000“. In case the server is not running execute the following script to start the server:
- On Linux: bin/linux-x86-64/sonar.sh start
- On macOS: bin/macosx-universal-64/sonar.sh start
- On Windows: bin/windows-x86-64/StartSonar.bat
if you are using Docker, start the container there.
Once the server is up, the SonarQube Home page should appear as below post login. The default login credential to log in is admin/admin.
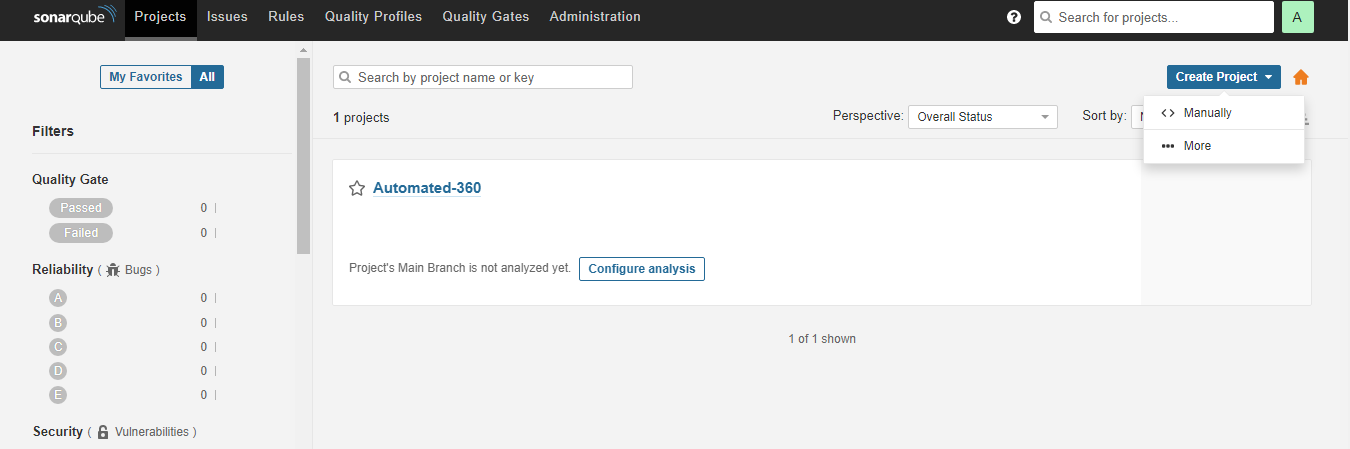
Create New Project
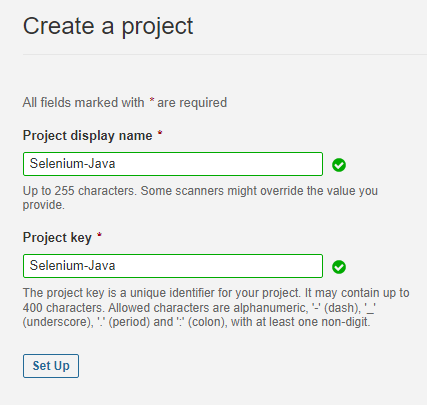
Click on Create Project, Select Manually and enter Project Name, Click on Setup.
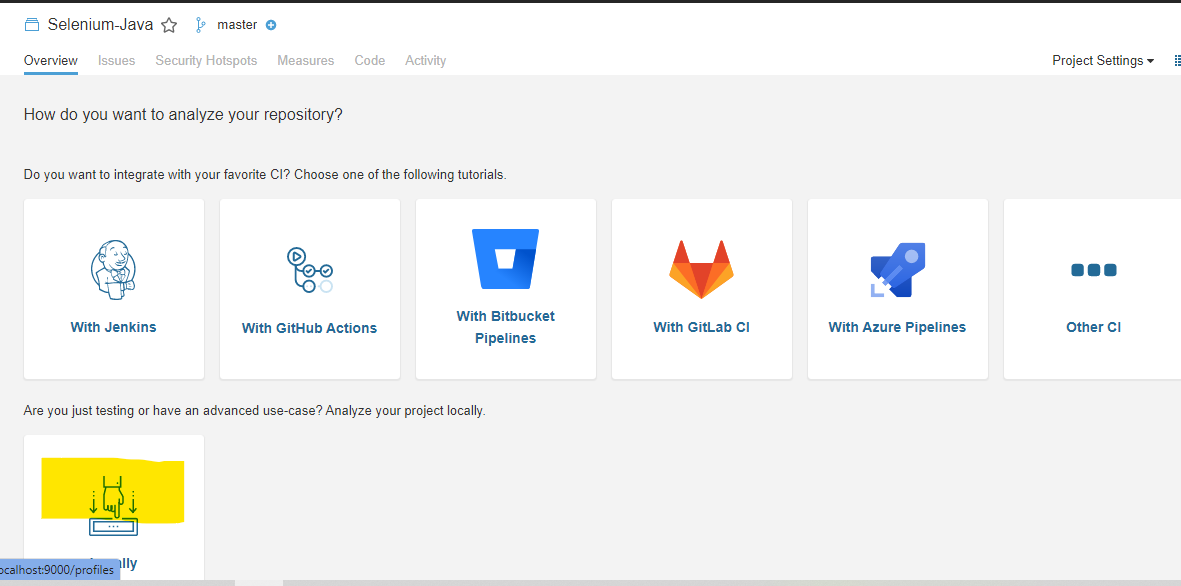
Click the option “Locally” on the Next page for How to Analyze your repository
The next page will ask for a Token, you can generate a new token or use an existing one. Click on Continue
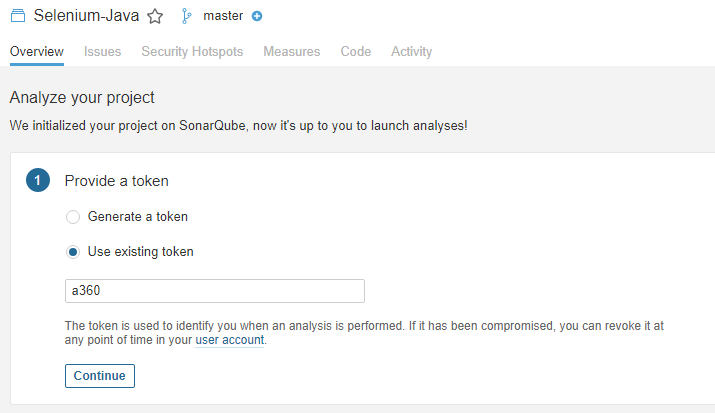
Select Maven in the next section. It will prompt you with the command you need to run for the analysis

How to Integrate Selenium with SonarQube?
Let’s go on to integrating the Selenium project with SonarQube once you’ve completed the SonarQube setup. It’s a really basic step in which you only need to include a maven sonar plugin in your POM file. You can get the dependent from the maven repository or copy and paste the code below into your POM.xml file’s dependency section.
<!-- https://mvnrepository.com/artifact/org.sonarsource.scanner.maven/sonar-maven-plugin -->
<dependency>
    <groupId>org.sonarsource.scanner.maven</groupId>
    <artifactId>sonar-maven-plugin</artifactId>
    <version>3.9.1.2184</version>
</dependency
Now, go to the command prompt and execute the command you got on the SonarQube Screen
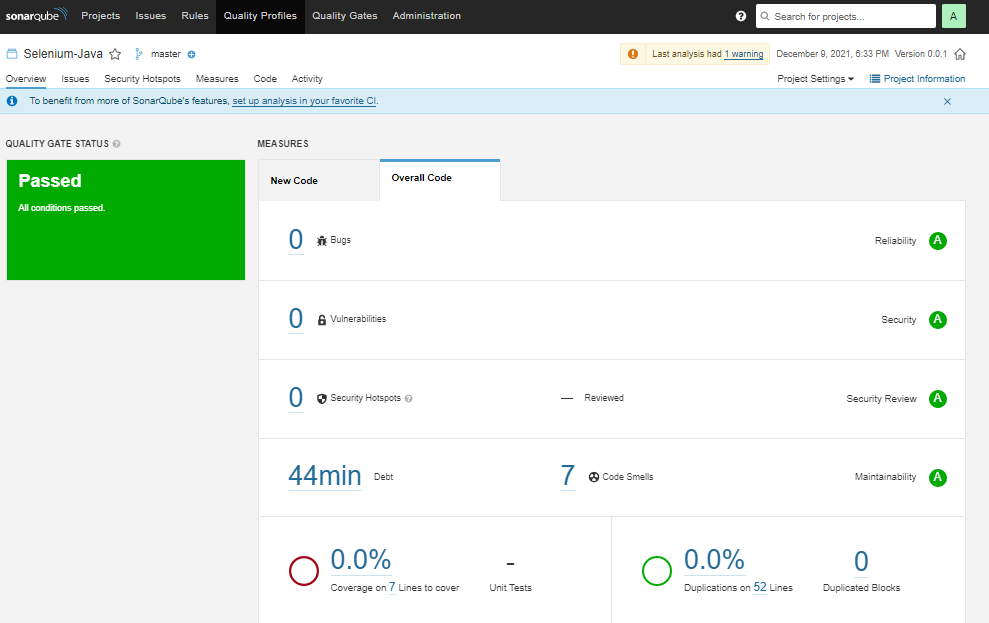
mvn clean verify sonar:sonar -Dsonar.projectKey=<<Project Key>> -Dsonar.host.url=http://localhost:9000 -Dsonar.login=<<Token>>Once the analysis is complete, your project screen at SonarQube will show up the Analysis result. You can also view the same on the dashboard. Refer SonarQube Metrics Definition Page to understand the Report better.


