
Docker containers are extremely scalable as they are pretty lightweight and easy to scale. Docker has the capacity to reduce the amount of development by using containers to provide a reduced operating system footprint. You can install Docker containers on your local or virtual system, as well as in the cloud. Docker has gained popularity due to its easy-to-use capabilities, which allow users to easily install and use programs. In this post, we will learn to install SonarQube with Docker. Refer to the posts on SonarQube integration with Selenium test automation, integration with eclipse and IntelliJ, and the integration with Jenkins.
Install SonarQube in 3 Easy Steps
Launch the Command prompt and run below. There are two versions of SonarQube available. One is the latest version and another one is Long-term Support (LTS) the stable version.
LTS version
docker pull library/sonarqube:ltsLatest version
docker pull library/sonarqube:latestOnce the image is downloaded, you need to start a container from the image. Map the container’s port 9000 to port 9000 and run the container in detach mode so that it continues to run even when the command line is turned off.
docker run -d -p 9000:9000 sonarqubeCheck all the containers running in your machine. You will find that SonarQube container is running. Now access SonarQube at http://localhost:9000.
docker images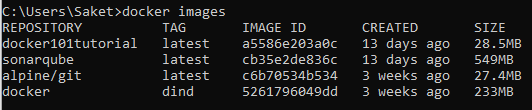
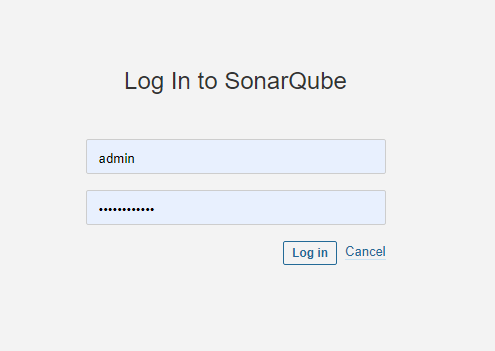
by default, the username and password to login to SonarQube is admin and admin. After logging in SonarQube will ask to update the admin password.
That’s it, folks. SonarQube is installed, now you can ensure quality automated scripts.


